Introduction
Drip irrigation is one of the most efficient and sustainable irrigation methods. It helps conserve water and distribute it precisely, boosting crop productivity while significantly reducing costs. If you’re planning to install a drip irrigation system on your farm, this practical step-by-step guide will ensure proper installation and help you get the most out of your crops.
Step 1: Identify Your Needs and System Goals
Before installation, it’s important to define the following factors:
-
Crop type: Different crops have different water requirements.
-
Farm area: The size of the farm influences system design and the amount of equipment needed.
-
Soil type: Sandy soil requires a different design than clay soil.
-
Water source: Ensure access to a clean and sustainable water source.
Step 2: Planning and Designing the Drip Irrigation System
-
Draw a Layout of the Irrigation System
-
Create a simple map showing irrigation lines and plant locations.
-
Identify areas that require more water.
-
-
Define Key Components of the Drip Network
-
Water source: This could be a well or a main water supply.
-
Filter: To remove impurities that could clog the drippers.
-
Main and secondary pipelines: To distribute water to all targeted areas.
-
Drippers: Deliver water directly to plant roots.
-
Valves and taps: To control and regulate water flow.
-
-
Determine Required Pressure
-
Ensure the pressure is suitable for even water distribution.
-
Use a pump if the pressure is too low.
-
Step 3: Installing the Drip Irrigation System
-
Install the Filter and Connect the Water Source
-
Connect the filter to ensure clean water supply.
-
Make sure it’s positioned for easy maintenance.
-
-
Lay Out the Main Hose Network
-
Follow the planned layout when laying the hoses.
-
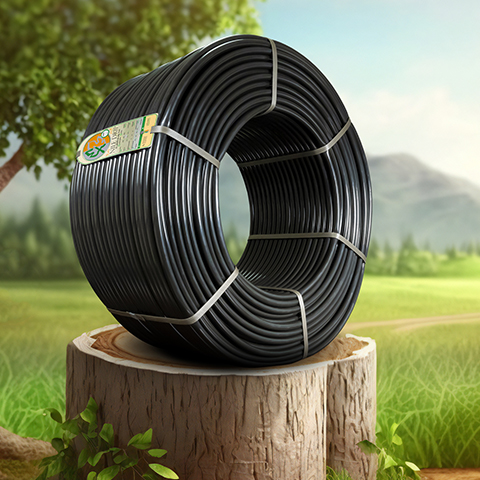
Use high-quality, UV- and corrosion-resistant hoses.
-
-
Install the Secondary Hose Network
-
Connect secondary hoses to the main lines with tight fittings.
-
Ensure even water distribution to all plants.
-
-
Install the Drippers
-
Place drippers on the secondary hoses near plant roots.
-
Check that they are functioning properly with no leaks.
-
-
Add Valves and Taps
-
Install pressure regulators and shut-off valves at key locations.
-
Ensure they are easy to access for maintenance.
-
Step 4: Test the Irrigation Network
Once installed, run the system and perform checks:
✅ Ensure even water distribution across all plants.
✅ Check for any leaks in the system.
✅ Monitor water flow and system pressure.
Step 5: Routine Maintenance of the Irrigation Network
To keep the system running efficiently, conduct regular maintenance:
-
Filter cleaning: Regularly clean filters to prevent clogging.
-
Inspect hoses and drippers: Look for leaks or blockages.
-
Pressure regulation: Maintain consistent water flow.
-
Immediate repairs: Replace damaged parts to avoid system failure.
Top Tips for Maximizing Drip Irrigation Efficiency
✔ Use high-quality hoses and irrigation components for longer system life.
✔ Install the system at the right time before the agricultural season begins.
✔ Consult irrigation experts to design a system tailored to your farm’s needs.
Integrated Solutions from Nile Drip
At Nile Drip, we offer comprehensive irrigation solutions tailored to all crops and farm sizes, including:
✅ Custom system design based on your specific requirements.
✅ High-quality irrigation components and accessories.
✅ Technical support and consultation for optimal performance.
📞 For inquiries or to order products, contact us at: +20 100 382 0005


